In Stock - Only 18 items left

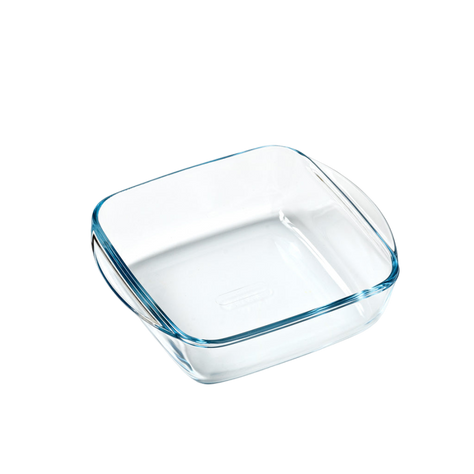
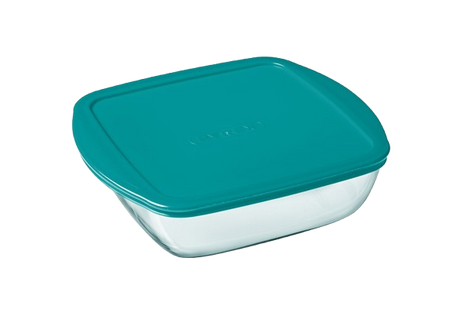
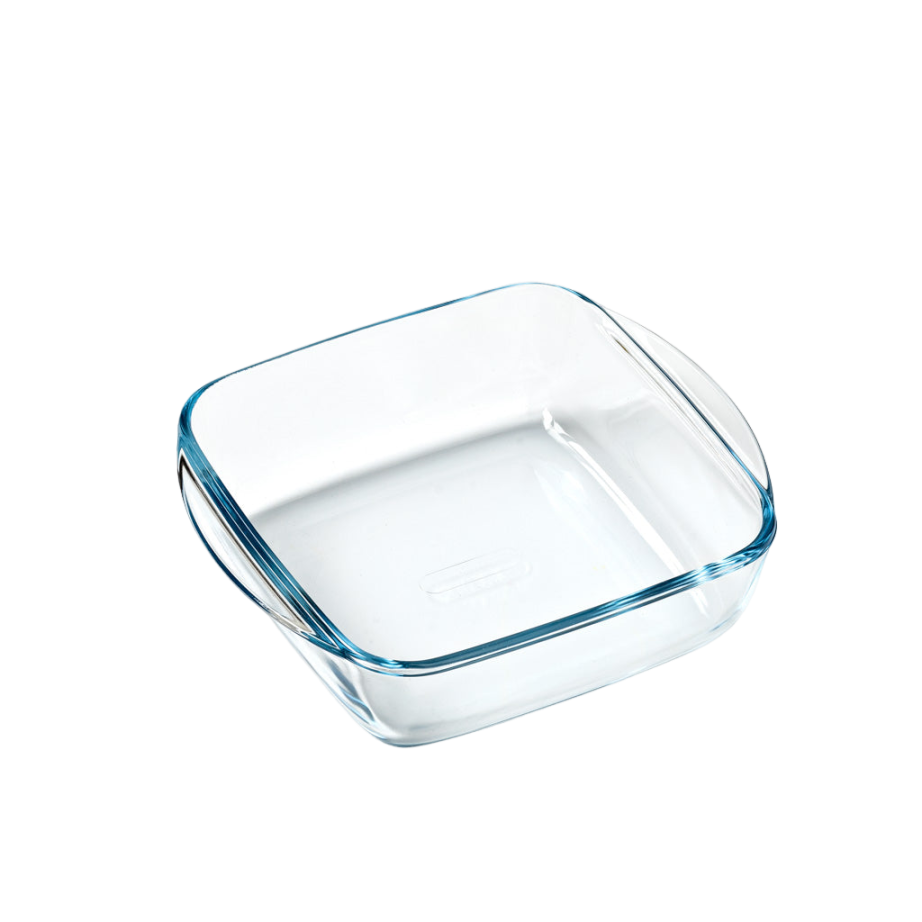
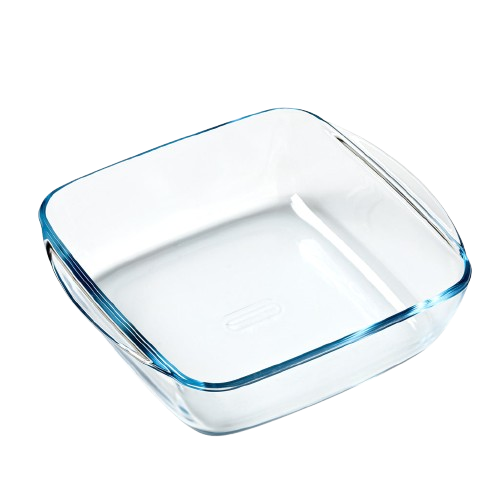
Square glass base for storage box

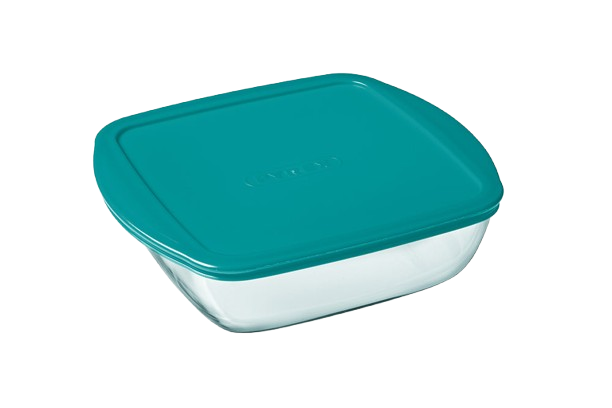
Compatible Cook & Store lid

7,90€

Dimensions   L : 20 cm l : 17 cm H : 6 cm Cap : 1L

20 x 17 x 6 cm
  • 20 x 17 x 6 cm
  • 25 x 22 x 7 cm
Qty 18 available

Delivery within 4 days

Zero-impact packaging

Easy Return Within 14 days

Secure payment Bank cards / paypal

  • Description

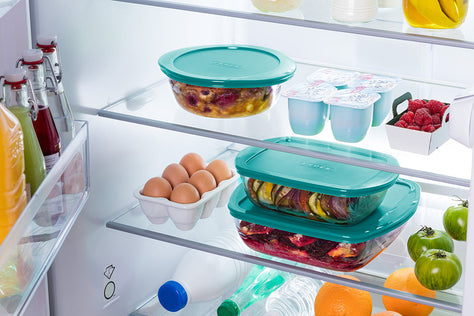
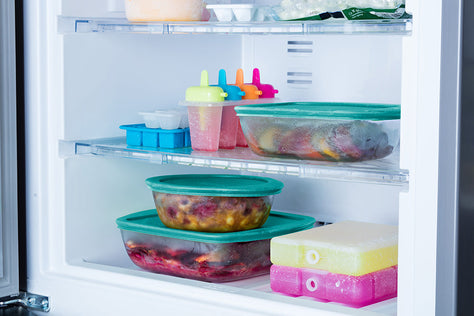
    Cook or reheat your homemade dishes at any time thanks to our replacement glass base suitable for our Cook & Heat or Cook & Store storage box. Made entirely of borosilicate glass, it is therefore compatible with the oven and microwave and can even be used as a lid for your pans. Its material also allows it to be placed in the refrigerator. The exceptional quality of this lid lies in its manufacturing material, Pyrex® borosilicate glass. Resistant to extreme temperatures, from -40°C to +300°C, it can be safely moved from the freezer to the oven. In addition, its resistance to thermal shocks up to 220°C makes it a reliable ally for all your culinary preparations. It does not retain stains or odors, thus preserving the purity of flavors.

  • Features

    The advantages of Pyrex® borosilicate glass:

    • Withstands extreme temperatures from -40°C to +300°C
    • Resistant to thermal shocks up to 220°C (EN 1183): can go from the freezer at -20°C to the oven at 200°C
    • Healthy, BPA-free and hygienic material that does not retain stains or odors
    • Scratch resistant
    • Maximum temperature: 300°CMaximum temperature: 300°C
    • Minimum temperature: -40°CMinimum temperature: -40°C
    • High thermal shock resistanceHigh thermal shock resistance
    • Oven compatibleOven compatible
    • Microwave compatibleMicrowave compatible
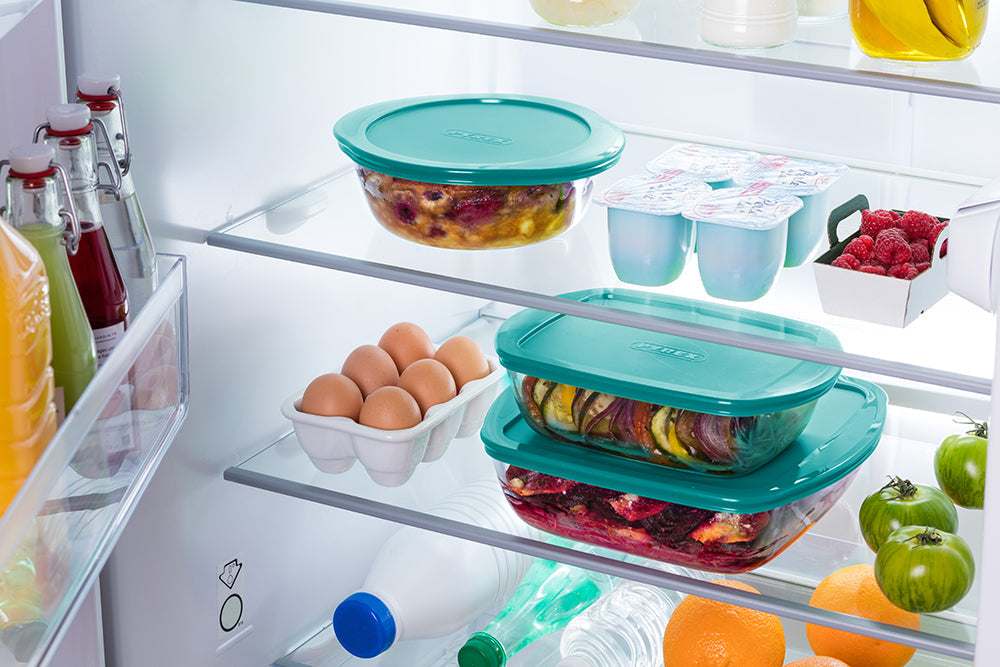
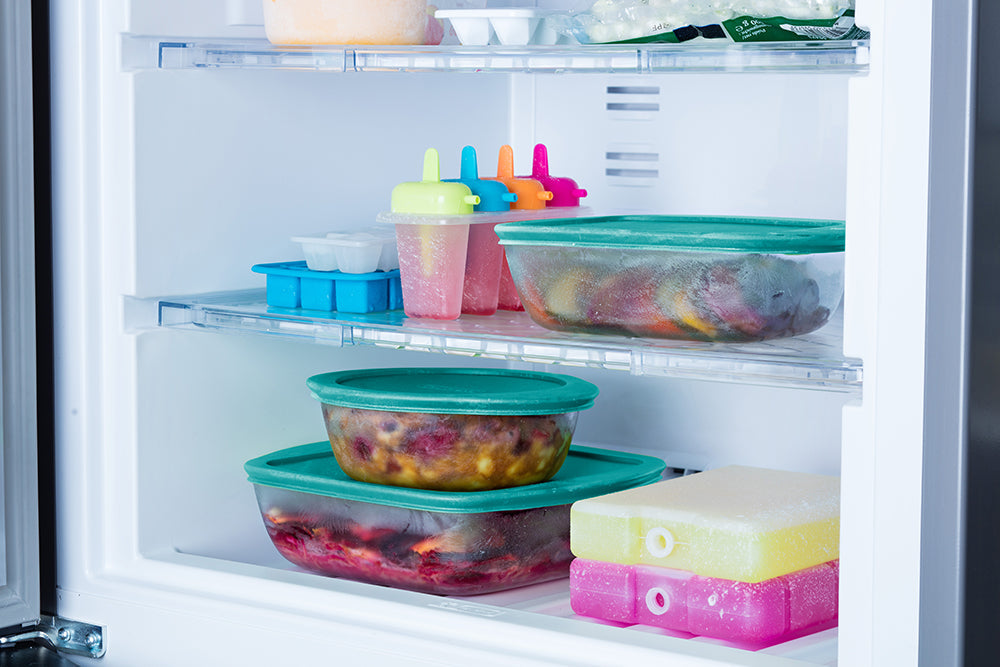
    • Refrigerator and freezer compatibleRefrigerator and freezer compatible
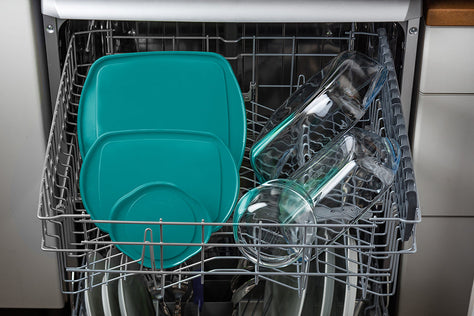
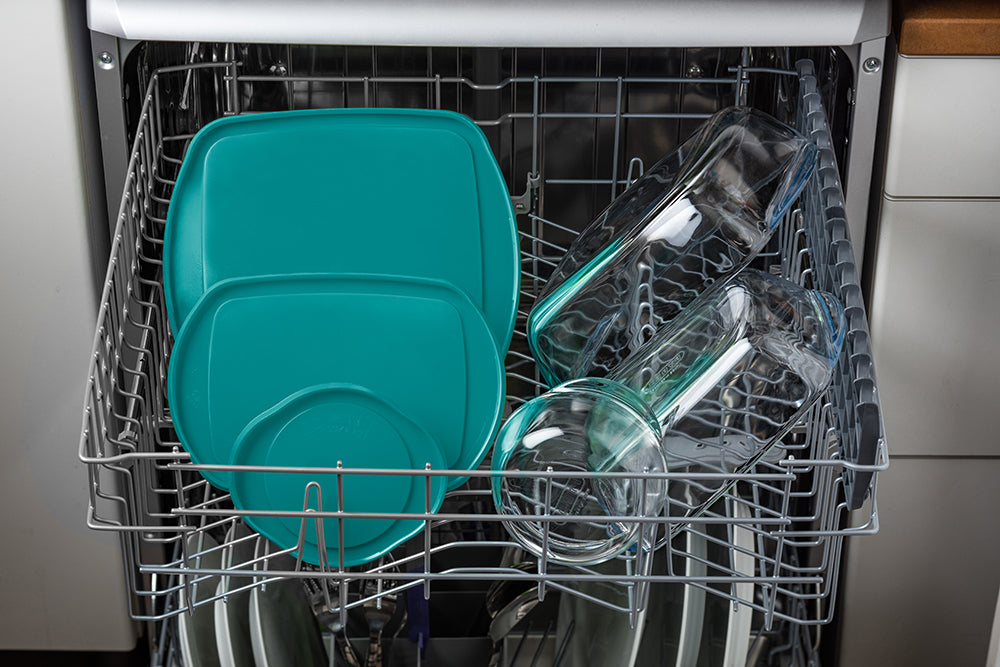
    • Dishwasher compatibleDishwasher compatible
    • Do not put on the fireDo not put on the fire
  • Product details

    Reference: 211B000

    Internal dimensions: L: 15 cm W: 15 cm H: 5 cm

    External dimensions: L: 20 cm W: 17 cm H: 6 cm

    Capacity: 1L

    Weight part: 0.57kg

  • Usage tips

    Use: In a traditional oven (300°C maximum), microwave oven if appropriately sized, refrigerator, freezer and dishwasher.

    Never use:

    • Directly on a heat source such as gas burners, electric hobs, ceramic hobs, grill or barbecue.
    • A chipped or partially chipped dish broken

    Precautions for use:

    • Avoid sudden changes in temperature:
      Do not:
      - Place a hot dish on damp or cold surfaces
      - Immerse a hot dish in cold water.
      - Add cold liquid to a hot dish (if necessary, add hot water only)
      - Place a cold dish under the grill
      A hot dish or its lid should always be handled with dry oven mitts or gloves to avoid any risk of burns
    • Do not use utensils sharp edges.
    • Do not use an electric mixer
    • Microwave safe
    • Using in a conventional oven at a temperature above 300°C may damage the glass
    • When using the item under a grill/roaster, leave a space of at least 10 cm between the edge of the dish and the heat source.
    • Cut carefully into the plat

    Care instructions:

    • Wash before first use. Avoid abrasive cleaners. Washing in the dishwasher under abnormal conditions such as excessive water temperature and detergent dose can damage the decoration and the glass and lid.
    • In the event of burnt or stuck-on food, we recommend, once the dish has cooled, leaving it to soak with soap and water.


    Our glass, although more resistant than others, can nevertheless break into several pieces or have chips following repeated mechanical shocks.


    Main causes of mechanical shocks:

    • At dishwasher: repeated shocks during washing if the dish is not stable in the dishwasher, also possibility of a dish that has had a shock prior to washing, always check the condition of the dish before putting it in the dishwasher
    • A shock or a chip, depending on its intensity, can cause instant breakage or the beginning of a breakage which can cause later breakage
    • In the cupboard: when storing, incorrect stacking or a shock against another dish can cause a chip or the beginning of a breakage which can cause later breakage

    Check from time to time that there are no chips or shocks.

    WARRANTY

    This product is guaranteed by INTERNATIONAL COOKWARE against manufacturing defects from the date of purchase for the period indicated on the packaging, subject to presentation of proof of purchase.
    The warranty does not apply to damage due to mechanical shocks, failure to follow the usage recommendations or professional use. Products with nicks or chips due to use or
    ahaving been heated on a direct heat source are no longer covered by the warranty. Similarly, staining, discoloration or deformation of plastic accessories are not covered by the warranty.

Item added to your cart

Yum yum

Trompe l'oeil sponge

  • Average
  • 15 minutes
  • 12 + 15 minutes
  • Cheap
A moist, tasty cake so realistic you'd mistake it for a real sponge! That's the magic promised by this trompe-l'oeil cake, a stunning dessert that will delight young and old alike.

IngrédientS

-

2

+
  • 140g flour
  • 120g sugar
  • 3 eggs
  • 135g soft butter
  • the juice of 1 lemon
  • 5g baking powder
  • 1 pinch of salt
  • yellow and green food coloring

Recipe

Step 1

Preheat the oven to 180°c

Step 2

In a bowl, put the softened butter, sugar and lemon juice

Step 3

Mix until you get a smooth dough

Step 4

Add the eggs one by one, mixing each time

Step 5

Add the flour, yeast and salt

Step 6

Divide the dough in two, put more dough in a bowl, color this dough with yellow food coloring. Mix well

Step 7

In the other bowl, add green food coloring, mix well

Step 8

Pour the dough into two square ovenproof dishes

Step 9

Bake for 15 minutes for the yellow-colored dough and 12 minutes for the green-colored dough

Step 10

Wait until the cakes have cooled before unmolding.

Step 11

Using the blade of a knife, scrape the surface of the green cake a little. To achieve the sponge scraping effect

Step 12

Put a little jam on the yellow cake and on top of the green cake

Step 13

Even out the towers, and cut the cake in two to make two sponges

Step 14

Make the "soap" by foaming milk
Complete with

100% secure delivery

Customer Reviews

Be the first to write a review
0%
(0)
0%
(0)
0%
(0)
0%
(0)
0%
(0)